How to configure Mozilla Thunderbird
From Spiffy Stores Knowledge Base
Setting Up Mozilla Thunderbird
This tutorial will help you set up the Mozilla Thunderbird email client to work with your Spiffy Stores email account.
For other email software, refer to How to set up your email program to access your Spiffy Stores mailboxes
To set up Mozilla Thunderbird:
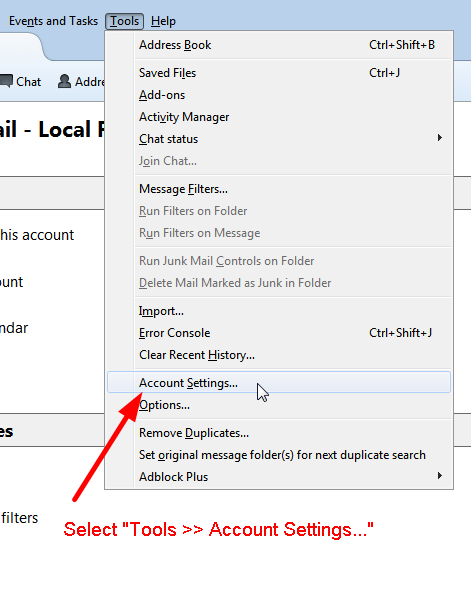
- In Mozilla Thunderbird, select "Tools >> Account Settings..."
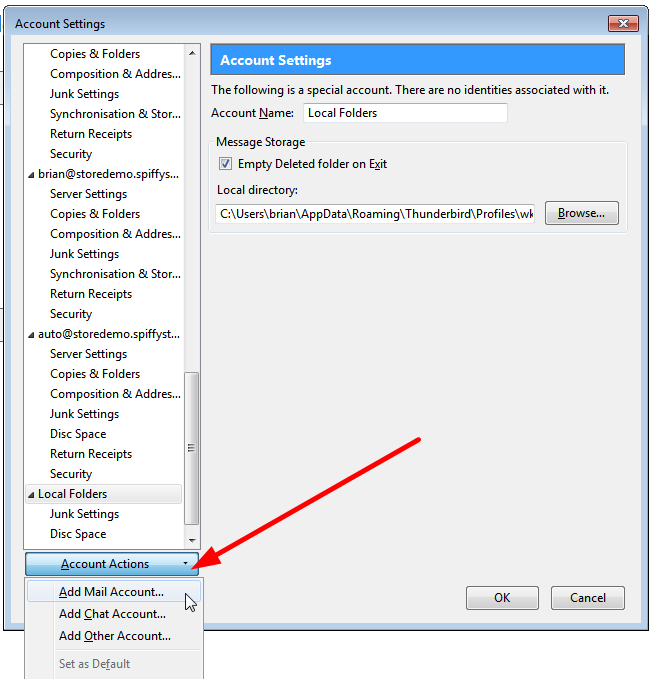
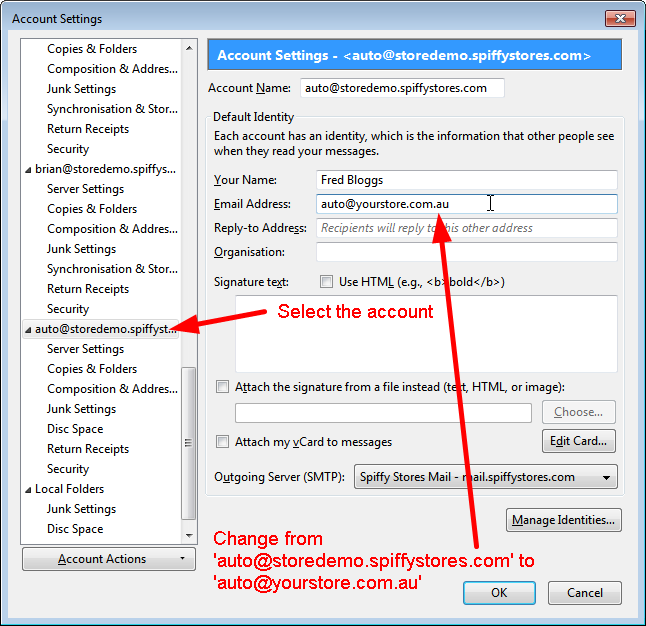
- In the "Account Settings" window, select "Add Account..."
- Select "Email account " and click Next
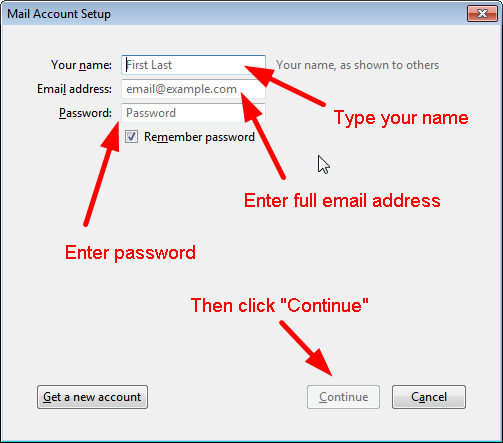
- Enter your name and e-mail address
- Select "POP" as the type of incoming server you are using. Your incoming server is mail.yourstore.spiffystores.com
- Click Next
- Enter your full e-mail address for the "Incoming User Name," and "Outgoing User Name."
- Click Next
- Enter a name for your e-mail account and click Next
- Verify your account information and click Finish
- In the Account Settings window, select "Outgoing Server" listed below your new account
- Enter mail.yourstore.spiffystores.com for the "Server Name" and change the "Port" setting to 587.
Select "Use name and password" and enter your e-mail address. Thunderbird will ask you for your password the first time you try to send mail.
Click OK - Update your new server settings to leave messages on the server so that this account can be used for webmail


