How to enable Google Analytics
From Spiffy Stores Knowledge Base
To enable Google Analytics tracking in your ecommerce store, you first need to sign up for an account with Google. To do this, go to http://www.google.com/analytics/
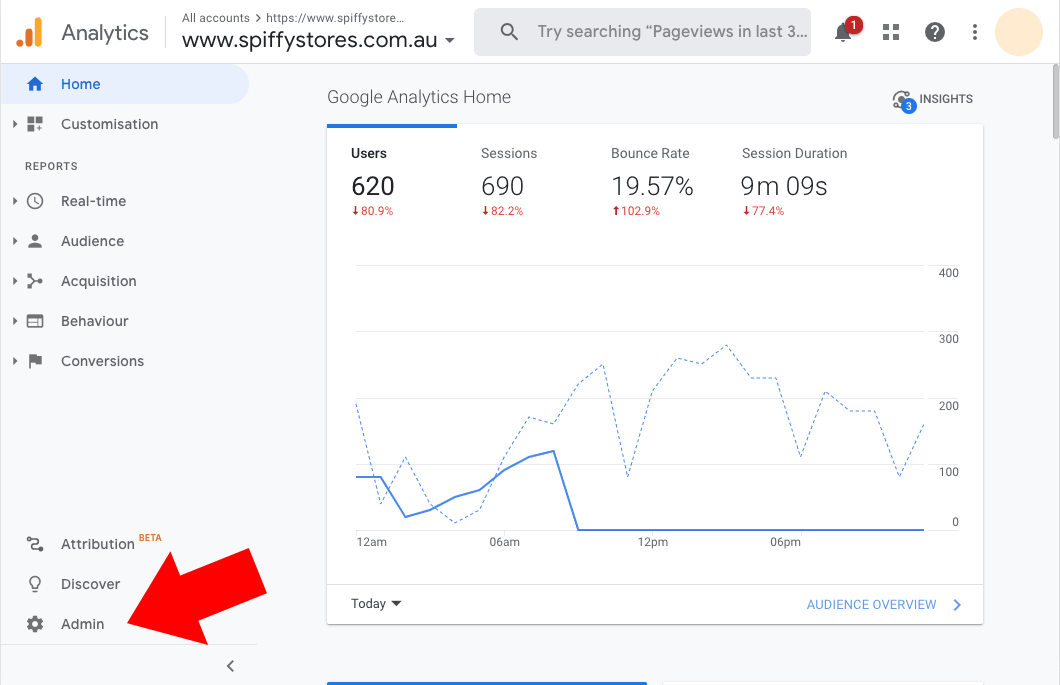
- When you've started an account, log into Google Analytics, and click on the "Admin" link in the bottom left.
- Click the "Create Account" button.
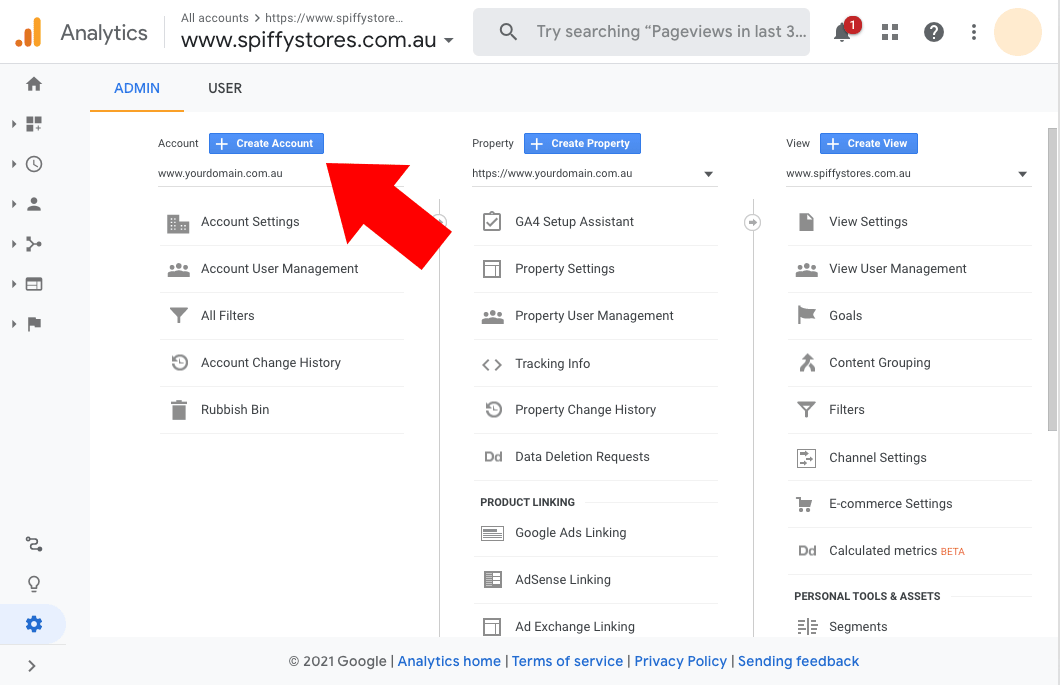
- Enter your website address.
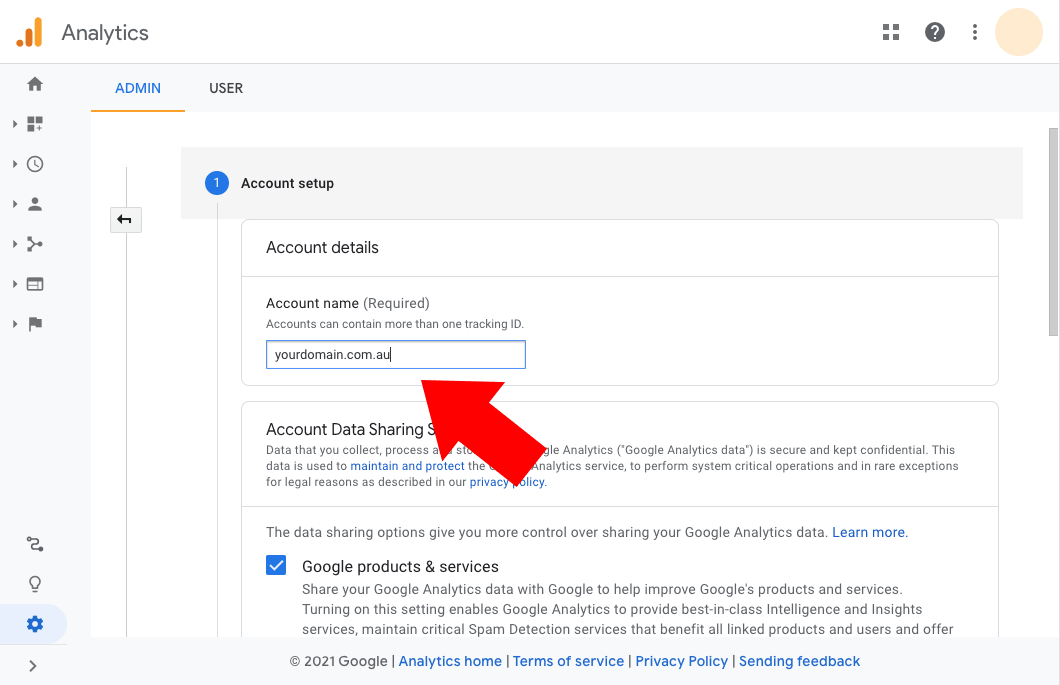
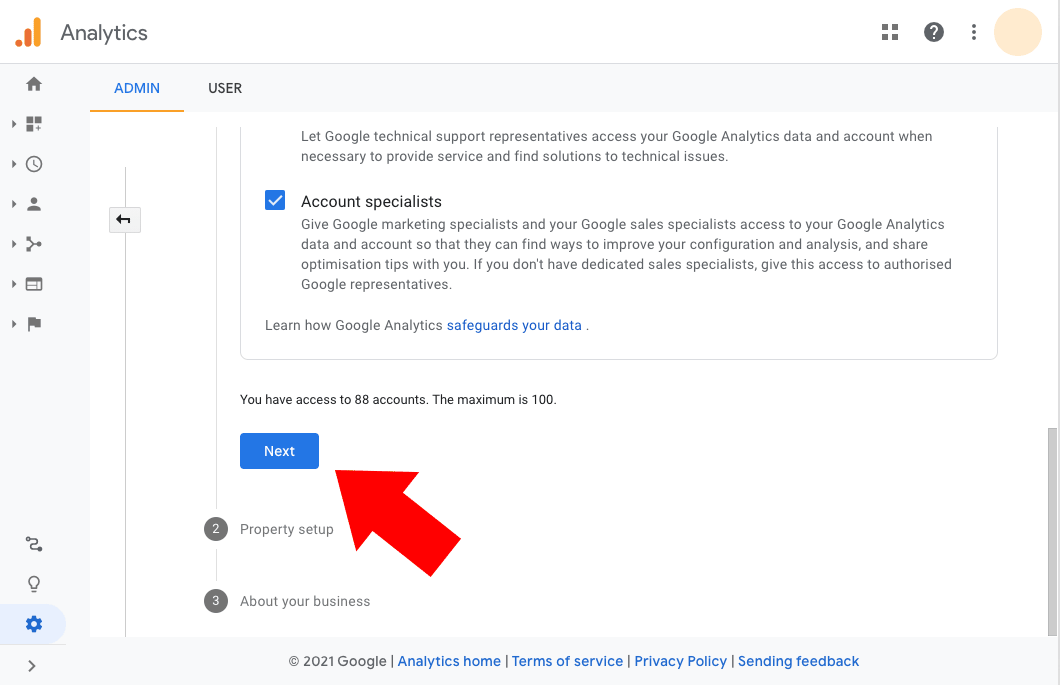
- Scroll down and click next.
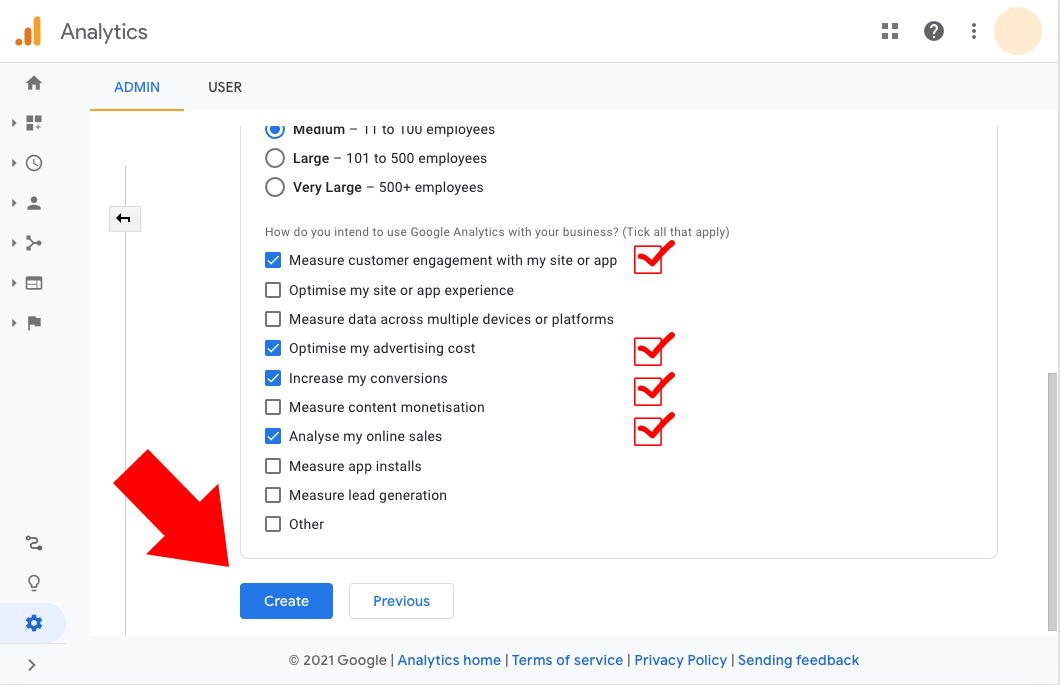
- Complete the required details. Ensure you've set your Country, Time Zone, and most importantly your store's currency.

- Tick the tracking options required and click "Create".
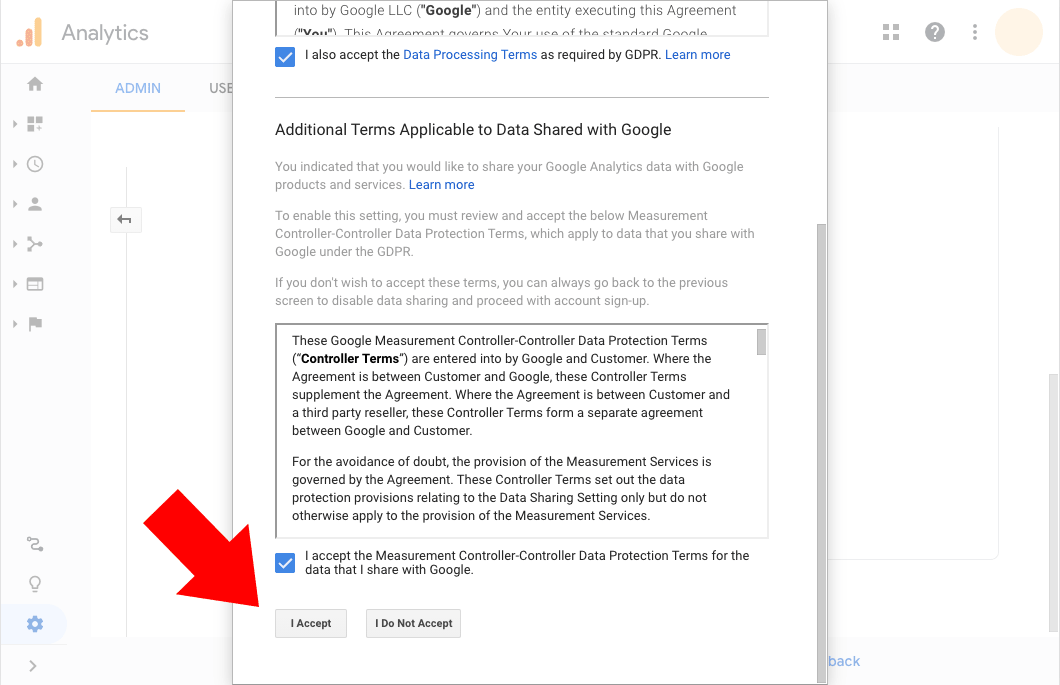
- You'll need to accept Google's terms
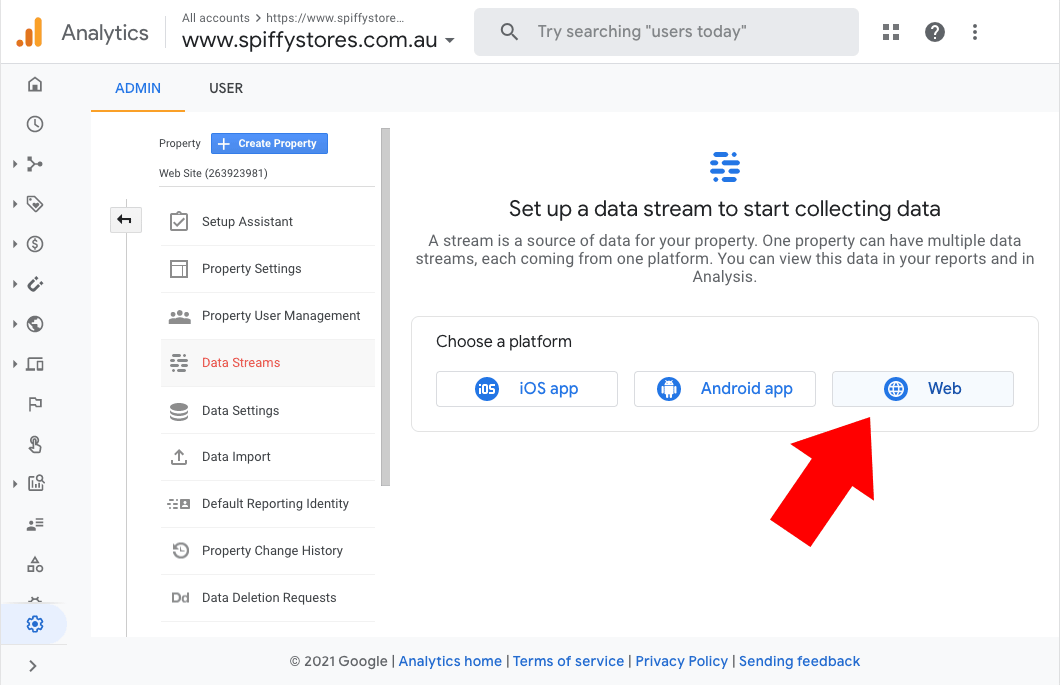
- Click the "WEB" option. We're tracking visitors to your web site.
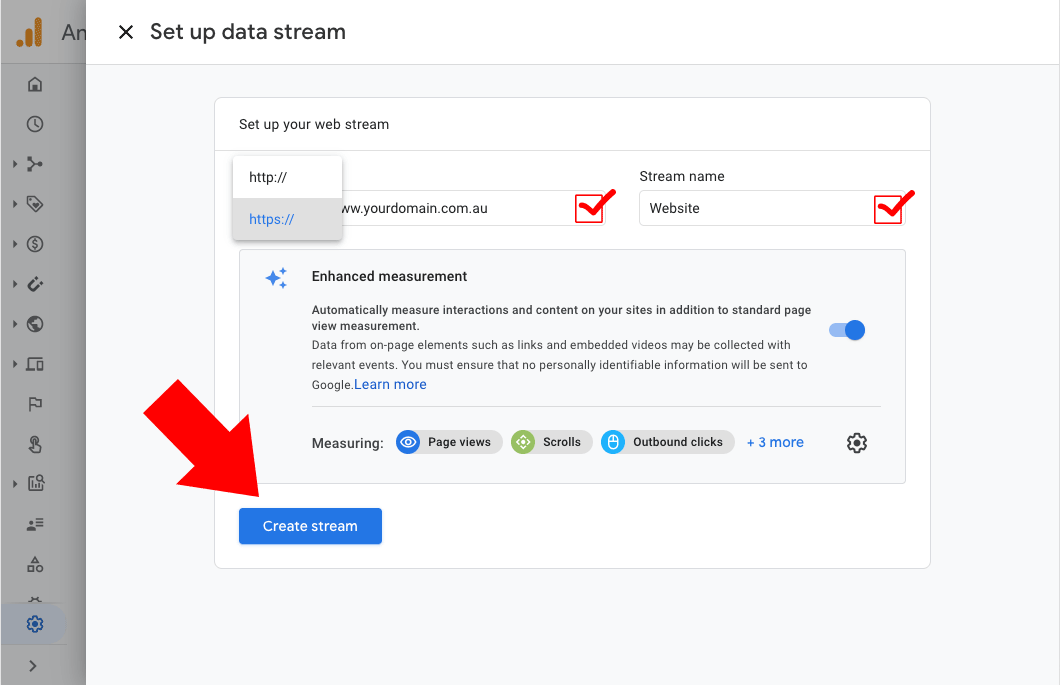
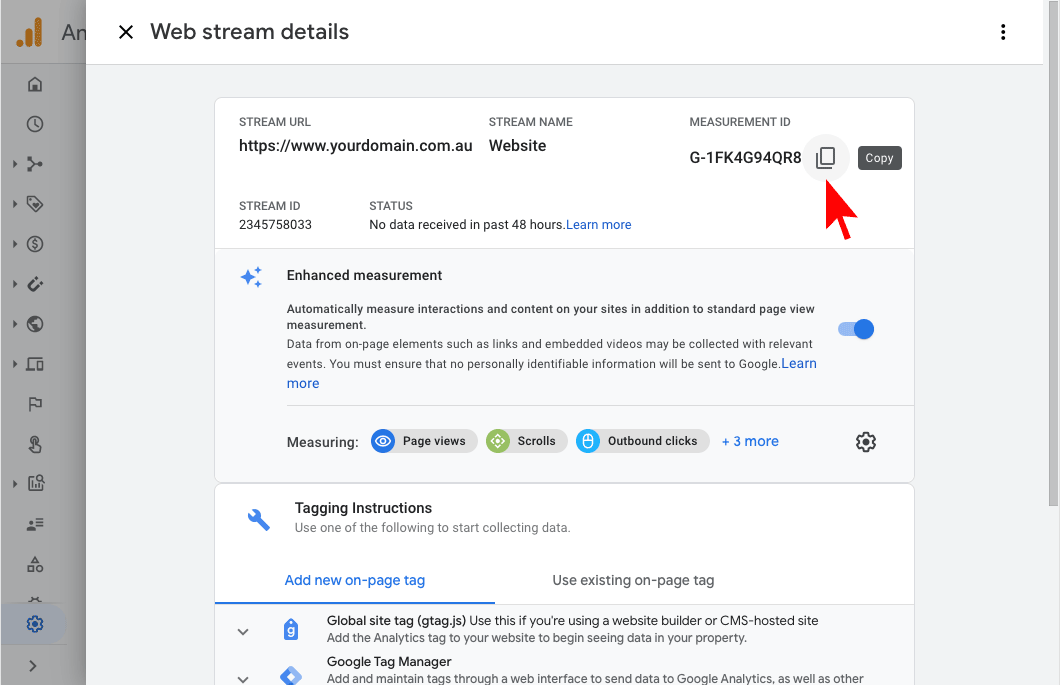
- Enter your store's primary domain. Your store's primary domain is the domain that is set as your primary domain in the "Preferences >> DNS & Domains" section of your store's admin. Ensure that your store is working over https, and ensure you've selected the https protocol. Click the "Create Stream" button.
- Copy the "Measurement ID".
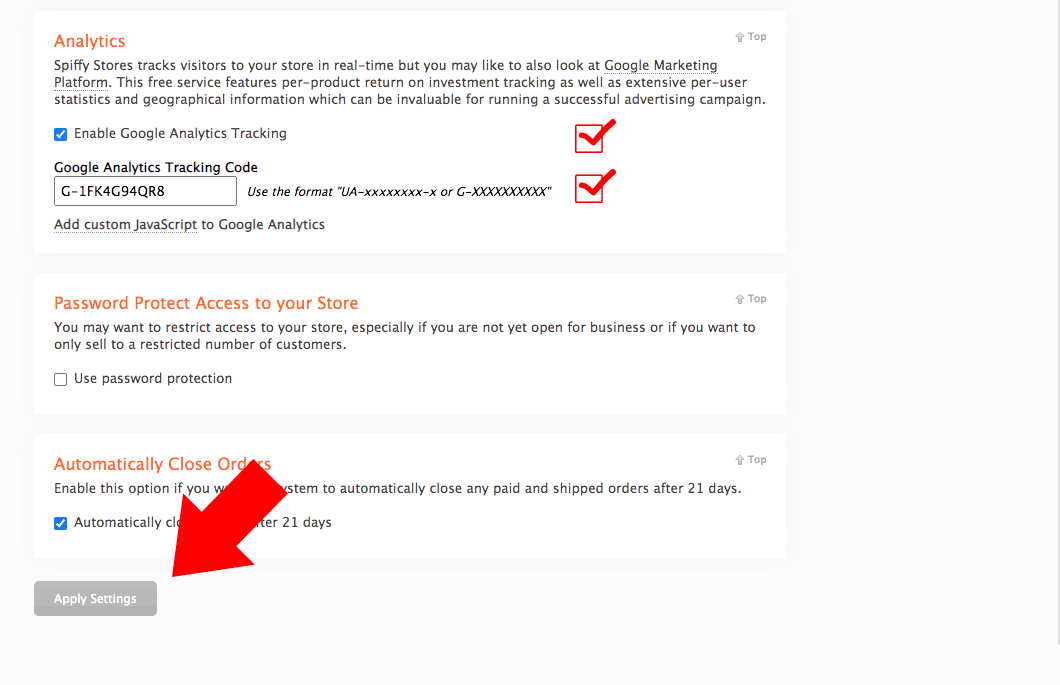
- Log into your Spiffy Store and go to the "Preferences -> General Settings" page of your store's admin. Tick the "Enable Google Analytics Tracking" box, and then paste or type your "Tracking ID" into the "Google Analytics Tracking Code" field. Click the "Apply Settings" button


Google should now start tracking visits to your e-commerce store. In about 24 hours, you should be able to log in to Google Analytics to see information about any new visitors to your store.
You can also enable conversion tracking for Google Analytics. Please consult our knowledge base article on this -> Conversion Tracking